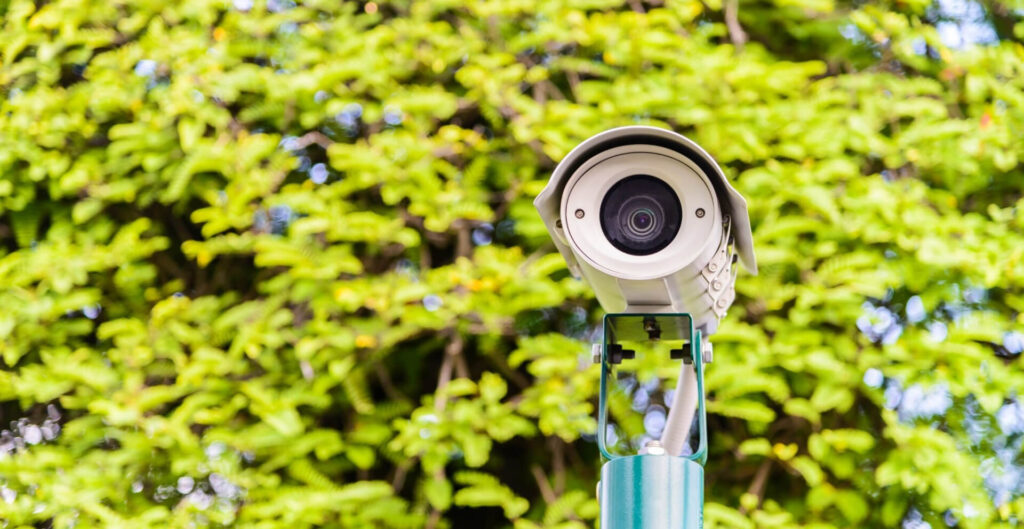
Installing a CCTV system yourself can be a cost-effective way to enhance your home security. With the right tools and preparation, you can set up a surveillance system that meets your needs. Here’s a step-by-step guide to help you through the process.
Step 1: Plan Your System
- Assess Your Needs:
- Identify the areas you want to monitor (entrances, driveways, backyards, etc.).
- Decide on the number of cameras needed based on the coverage area.
- Choose between wired and wireless cameras depending on your preference for installation and aesthetics.
- Choose the Right Cameras:
- Indoor vs. Outdoor: Ensure outdoor cameras are weatherproof.
- Resolution: Opt for at least 1080p resolution for clear images.
- Night Vision: Check if the cameras have infrared or color night vision capabilities.
- Field of View: Wide-angle lenses can cover more area.
- Select the Recording Device:
- DVR (Digital Video Recorder) for analog cameras.
- NVR (Network Video Recorder) for IP cameras.
- Ensure sufficient storage capacity based on your recording needs.
Step 2: Gather Your Tools and Equipment
- CCTV Cameras
- DVR/NVR
- Power Supply/Cables
- Monitor (optional)
- Drill and Bits
- Screwdrivers
- Ethernet Cables (for wired systems)
- Cable Clips/Conduits (for cable management)
- Ladder
Step 3: Install the Cameras
- Positioning:
- Mount cameras at a height to avoid tampering but low enough to capture clear details.
- Avoid pointing cameras directly at light sources to prevent glare.
- Mounting:
- Use the drill to make holes for the mounting screws.
- Secure the camera mount with screws and attach the camera.
- Cable Management:
- For wired cameras, run the cables to the recording device. Use cable clips or conduits to keep them neat and secure.
- For wireless cameras, ensure they are within range of your Wi-Fi router.
Step 4: Connect the System
- Power Up:
- Connect each camera to its power supply.
- Ensure the DVR/NVR is connected to a power source.
- Connect to the Recorder:
- For wired systems, connect the camera cables to the DVR/NVR.
- For wireless systems, follow the manufacturer’s instructions to pair the cameras with the NVR.
- Network Connection:
- Connect the DVR/NVR to your router using an Ethernet cable for remote access.
Step 5: Configure the System
- Initial Setup:
- Turn on the DVR/NVR and follow the setup wizard.
- Set up a username and password for security.
- Camera Configuration:
- Adjust camera settings such as resolution, motion detection, and recording schedules.
- Remote Access:
- Download the mobile app or software provided by the manufacturer.
- Follow the instructions to link your DVR/NVR to your mobile device or computer for remote viewing.
Step 6: Test Your System
- Check Camera Views:
- Ensure each camera is capturing the desired area.
- Adjust angles if necessary.
- Test Recording and Playback:
- Verify that the system is recording properly and that you can playback footage.
- Motion Detection:
- Test the motion detection feature to ensure it triggers alerts and recordings as expected.
Tips for a Successful Installation
- Plan Ahead: Spend time planning the layout and positioning of your cameras.
- Secure Connections: Ensure all connections are tight and secure to prevent disruptions.
- Regular Maintenance: Periodically check and clean your cameras to maintain image quality.
- Update Firmware: Keep your system’s firmware updated to benefit from the latest features and security patches.
Conclusion
Installing a CCTV system yourself can be a straightforward process if you follow these steps carefully. With proper planning and execution, you can achieve a reliable and effective surveillance setup that enhances the security of your home. Enjoy the peace of mind that comes with knowing your property is well-monitored.

